
Setting Up a Home Network That Actually Covers Every Room
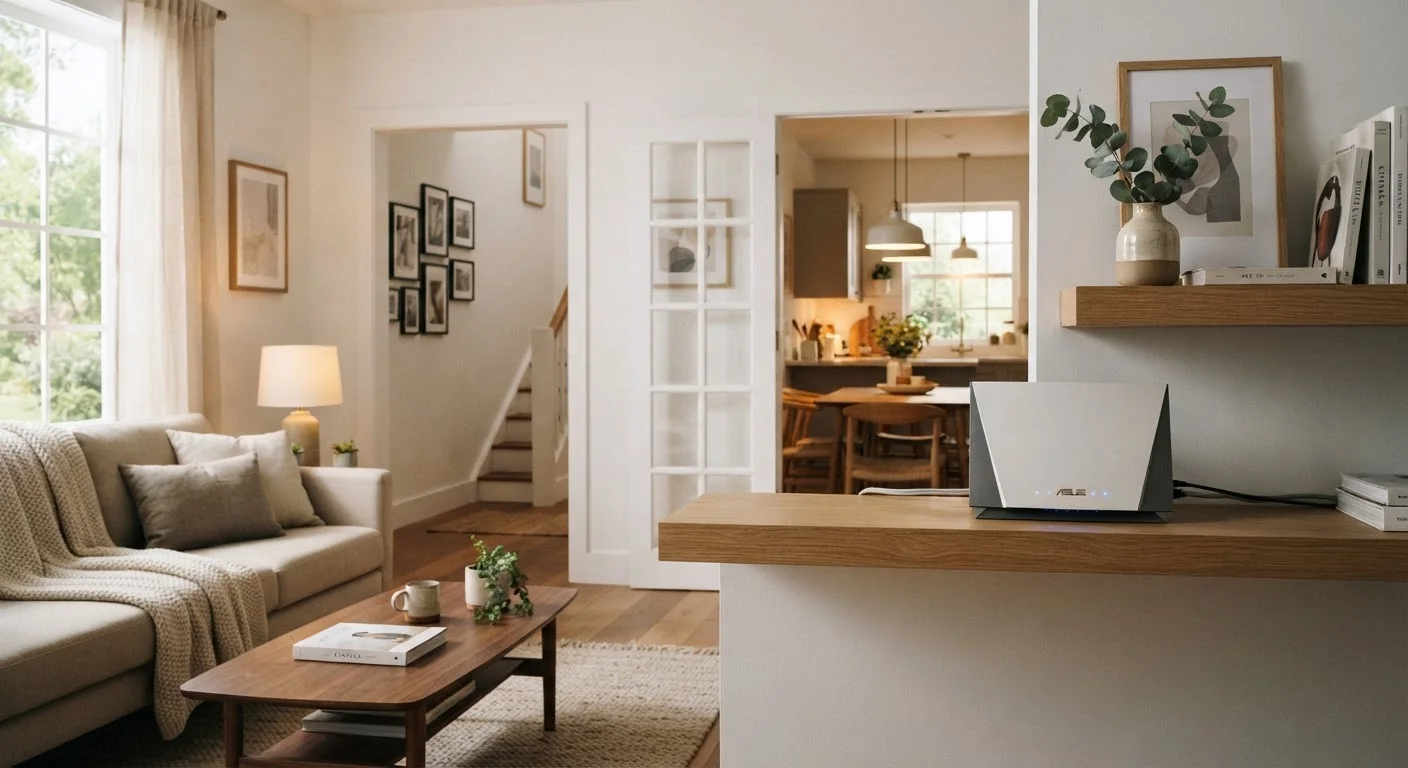
Photo credit: TurboBlogs.net | Explore Blogs At Turbo Speed
In this article
Step-by-step guidance on planning router placement, eliminating dead zones, and connecting all your devices reliably.
Key Takeaways
- Router placement at the center of your home dramatically improves whole-home coverage.
- Mesh network systems are the most practical solution for eliminating dead zones in larger or multi-story homes.
- Physical obstructions like concrete walls and appliances degrade Wi-Fi signal more than distance alone.
- Separating devices onto 2.4 GHz and 5 GHz bands improves overall network performance.
- Securing your network with a strong password and modern encryption protects all connected devices.
Understanding Why Home Wi-Fi Fails
Most home Wi-Fi problems come down to two causes: poor router placement and inadequate equipment for the home's physical layout. A router shoved into a corner closet, placed on the floor, or blocked by a concrete wall will underperform regardless of how much you paid for it.
Modern homes are particularly challenging. Open floor plans, multi-story layouts, dense insulation, and the sheer number of connected devices all stress a single router's coverage capability. Older homes present additional hurdles — if you're working with an older structure, it's worth reviewing what to plan before installing smart home devices in an older house before you start.
The good news is that systematic planning — rather than expensive hardware swaps — resolves the majority of coverage complaints. The steps below walk you through that process.
Thick Walls and Interference Kill Coverage
Concrete, brick, and plaster walls absorb Wi-Fi signals significantly more than standard drywall. Microwaves, cordless phones, and neighboring Wi-Fi networks can also cause interference on the 2.4 GHz band. Map these obstacles before finalizing your router or node placement.
What You'll Need Before You Start
Gather the following equipment and information before beginning. Having everything on hand prevents mid-setup interruptions.
What you will need
Modem (or gateway device from ISP)
Connects your home network to your internet service provider's infrastructure.
Wireless router or mesh system
Distributes the internet connection wirelessly throughout your home.
Ethernet cables (Cat 5e or better)
Used to hardwire nodes, smart TVs, or computers for the fastest, most stable connections.
Wi-Fi analyzer app
Measures signal strength in each room so you can identify coverage gaps.
Network switch
Expands the number of available wired Ethernet ports when multiple wired devices are in one area.
If you're planning a broader smart home setup, the complete guide to planning and building a smart home from the ground up provides an end-to-end framework that pairs well with the network foundation you're establishing here.
Step-by-Step Setup Instructions
Follow these steps in order. Each builds on the previous, and skipping ahead — particularly the planning stages — tends to result in placements you'll need to revisit.
Map your home and identify coverage goals
Sketch a rough floor plan — it doesn't need to be to scale. Mark each room and note where you need reliable coverage: home office, bedrooms, garage, backyard patio. Also note locations of concrete walls, appliances, or stairwells that could block signals.
Count the number of devices you plan to connect. A household running 30+ devices (phones, laptops, smart home sensors, streaming sticks) has very different demands than one running five.
Choose the right equipment for your home's size
A single router handles most apartments and small homes under roughly 1,500 square feet. For larger homes, multi-story layouts, or spaces with dense walls, a mesh network system — consisting of a main router and one or more satellite nodes — is the most reliable approach. Mesh systems communicate with each other and create a single, seamless network name rather than forcing you to switch networks as you move through the house.
If you're unsure whether to go wired or wireless for specific devices, the trade-offs between wired and wireless smart home devices are worth understanding before you finalize your setup.
Position your primary router centrally
Place the main router as close to the geographic center of your home as your modem connection allows. Elevated placement — on a shelf or tabletop rather than behind a cabinet — significantly improves signal distribution. Keep it away from microwaves, cordless phone bases, and thick appliances. As detailed in our guide on why router placement matters more than its specs, physical positioning routinely outperforms hardware upgrades for solving coverage issues.
Place mesh nodes or range extenders strategically
Position satellite nodes or extenders at the edge of the main router's reliable signal — not at the edge of its range. Placing a node where the signal is already weak causes a weak backhaul connection, degrading performance for all devices on that node. Use your Wi-Fi analyzer app to find the point where signal strength begins to drop, and place the node just before that threshold.
Configure your network bands and settings
Modern routers broadcast on two frequencies: 2.4 GHz (longer range, better wall penetration, lower speed) and 5 GHz (shorter range, higher speed). Most current routers handle band steering automatically — connecting devices to the best band. If yours doesn't, create separate network names (SSIDs) for each band and assign devices manually.
Log in to your router's admin panel (typically via a browser at 192.168.1.1 or 192.168.0.1) and confirm the following: change the default admin credentials, set your Wi-Fi password to a strong, unique phrase, and enable WPA3 encryption if supported (WPA2 otherwise).
Test coverage and fine-tune placement
Walk each room with your Wi-Fi analyzer app and check signal strength. Streaming video and making a video call from each location is a practical real-world test. If dead zones remain, adjust node placement by a few feet — small moves can make a measurable difference. Revisit your floor plan sketch and note which adjustments resolved each problem area.
Use a Wi-Fi Analyzer App to Spot Dead Zones
Free Wi-Fi analyzer apps for smartphones can display signal strength as you walk through your home, making dead zones visible before you commit to a placement. Run the scan during normal household activity to capture realistic interference conditions.
Don't Skip Network Security Setup
An open or weakly secured home network exposes every connected device to unauthorized access. Always change the router's default admin password immediately after setup and enable WPA3 or WPA2 encryption. For broader guidance on protecting your digital life, explore the Digital Privacy & Safety hub.

Author
Tech & Electronics Editorial Team
Tech & Electronics Editorial Team is the collective byline for our editorial team and contributor network. Articles published under this byline or an editorial pen name are researched, written, and reviewed according to our editorial standards for clarity, consistency, and independence before publication.
View all articles →