
Plumbing Maintenance Tasks Homeowners Can Safely Handle Themselves
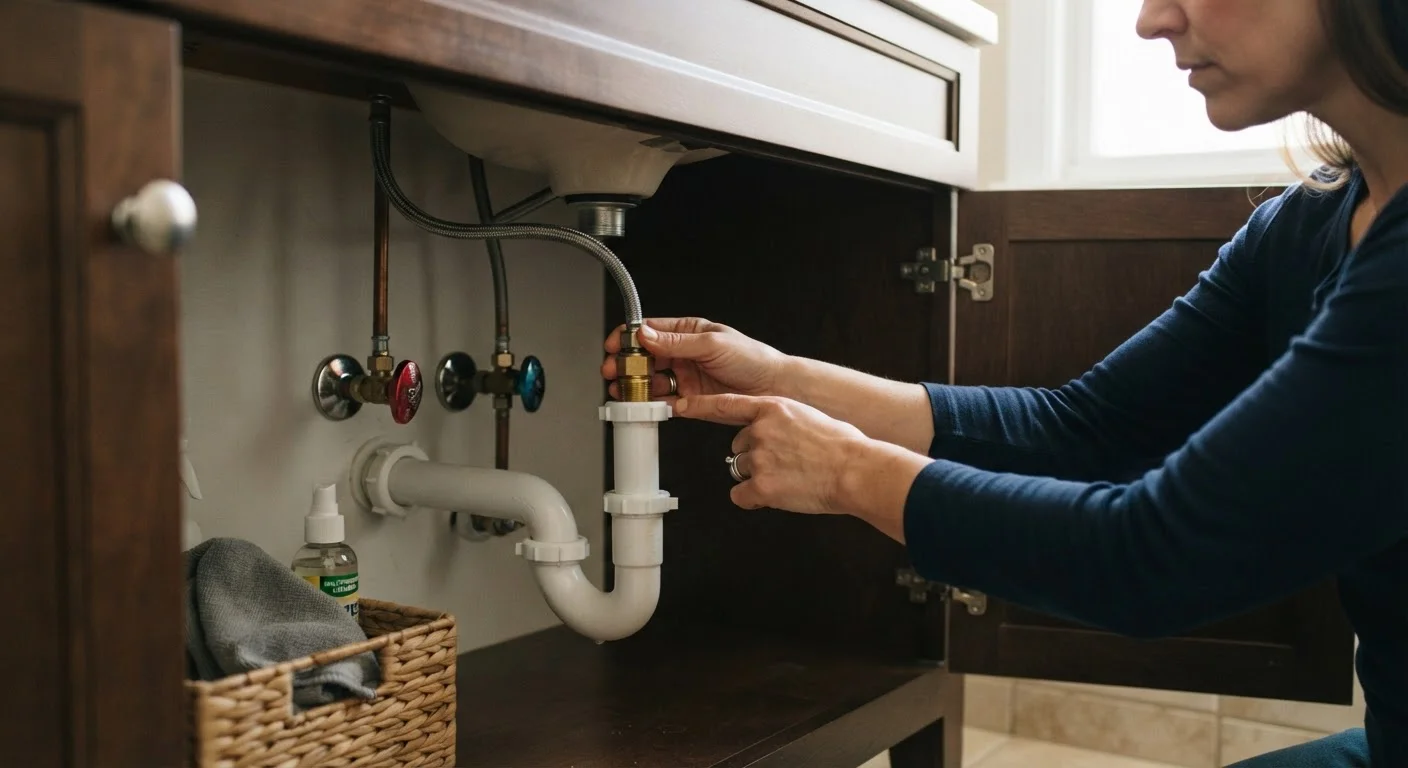
Photo credit: TurboBlogs.net | Explore Blogs At Turbo Speed
In this article
From checking shut-off valves to clearing slow drains, here are plumbing upkeep tasks within reach for most homeowners—with clear safety notes.
Key Takeaways
- Most plumbing maintenance tasks don't require a license-just some basic knowledge and the right approach.
- Slow drains, running toilets, and dripping faucets are common issues homeowners can address safely.
- Knowing your home's main water shut-off location is essential before attempting any plumbing task.
- Some plumbing work-especially involving gas lines, main sewer connections, or permit-required changes-always requires a licensed professional.
- Consistent preventive maintenance protects your home's value and helps avoid emergency repair bills.
Why Plumbing Upkeep Belongs on Every Homeowner's List
Water damage is among the most expensive and disruptive problems a homeowner can face-and much of it is preventable. A slow drip under a sink, a toilet that won't stop running, or a drain that clears sluggishly are early warnings your plumbing system sends before a serious failure occurs. Catching these signals early requires only periodic attention, not a contractor's license.
That said, not every plumbing task is DIY-appropriate. Work involving your main sewer line, gas-connected water heating systems, in-wall pipe replacement, or anything requiring a local permit should be handled by a licensed plumber. The tasks below are specifically limited to routine maintenance that most homeowners can perform safely with basic tools and careful preparation. If you're building these into a broader home upkeep routine, see our home maintenance scheduling guide for a season-by-season framework.
When to Stop and Call a Licensed Plumber
Certain plumbing situations are not appropriate for DIY work, regardless of your skill level. These include any work on main sewer lines or the water main connection, pipe replacement inside walls or floors, gas line connections, and any project that requires a local permit. If you're unsure whether a task requires a permit, contact your local building or code enforcement office before starting. Unpermitted work can create problems when you sell your home or file an insurance claim.
Plumbing Maintenance Tasks You Can Tackle Yourself
Locate and Test Every Shut-Off Valve
Every homeowner should know exactly where their home's main water shut-off valve is located-typically near the water meter, in a utility room, or along an exterior wall. Beyond the main valve, individual fixture shut-offs sit beneath sinks and behind toilets. Turn each one off and back on annually to confirm they move freely. Valves that haven't been operated in years can seize, leaving you unable to stop water flow during a leak.
If a valve won't turn or leaks at the stem when operated, stop and call a plumber rather than forcing it.
A seized shut-off valve is useless in an emergency-test every one annually.
Clear Slow Drains Without Harsh Chemicals
A slow-draining sink or tub is almost always caused by accumulated hair, soap residue, or debris in the drain trap-the curved pipe section just below the fixture. Remove and clean the stopper or drain cover, then use a hair-removal tool or a small drain snake to pull out the clog manually. This approach is effective and avoids the pipe-damaging effects that liquid chemical drain cleaners can cause with repeated use, particularly in older homes with metal pipes.
Persistent slow drains that don't respond to manual clearing may signal a deeper blockage in the branch or main drain line-that's a job for a professional with camera-inspection equipment.
Manual removal beats chemical drain cleaners for protecting your pipes long-term.
Diagnose and Fix a Running Toilet
A toilet that runs continuously after flushing wastes a significant amount of water and inflates utility bills. Remove the tank lid and observe: if the flapper-the rubber seal at the tank's base-doesn't seat properly, water leaks constantly into the bowl. Flappers are inexpensive, sold at hardware stores, and replaceable without special tools. Similarly, a float set too high causes water to spill into the overflow tube; adjusting the float arm or replacing the fill valve resolves this.
Both repairs require shutting off the toilet's individual supply valve before starting. If the internal components appear heavily corroded or the toilet itself is damaged, professional assessment is advisable.
A running toilet can waste hundreds of gallons per day-replacing a flapper costs just a few dollars.
Inspect Visible Pipes and Connections for Moisture
Under every sink and behind exposed access panels, take a flashlight and look carefully at pipe joints, compression fittings, and supply lines for signs of moisture: mineral staining, corrosion rings, or active drips. Even small, slow leaks cause wood rot and mold growth over time. Supply lines-the flexible braided hoses connecting shut-off valves to faucets and toilets-should be inspected for cracks or bulging and replaced roughly every five to seven years as a precaution.
Replacing a supply line is straightforward: shut off the valve, unscrew the old line, and hand-tighten the new one before using a wrench for a snug (not overtightened) seal.
Slow leaks often go unnoticed for months-a flashlight inspection takes five minutes and can prevent thousands in damage.
Clean Aerators and Showerheads
Faucet aerators-the small mesh screens at the tip of each spout-collect mineral deposits over time, reducing water pressure and flow. Unscrew the aerator by hand or with a cloth-wrapped wrench, soak it in white vinegar for an hour, and rinse it clean. Showerheads can be cleaned similarly: fill a plastic bag with vinegar, secure it around the showerhead with a rubber band so the nozzles are submerged, and leave it overnight. This is especially effective in areas with hard water.
Consistent aerator maintenance also helps you monitor water pressure changes, which can signal broader system issues worth investigating.
Vinegar-soaking aerators and showerheads restores full water flow without replacing any hardware.
Check Water Heater Connections and the Area Around the Unit
While water heater internal maintenance-such as flushing sediment or testing the pressure relief valve-carries more complexity, homeowners can safely inspect the area around the unit. Look for moisture on the floor, corrosion at pipe fittings, or rust staining on the tank exterior. These are early indicators of a failing unit. Also confirm that the temperature setting on the unit's thermostat is at or below 120°F (49°C), which reduces scalding risk and limits energy use.
For detailed internal maintenance steps, see our water heater upkeep guide. Never attempt to work on gas connections or the pressure relief valve without understanding the risks and your local requirements.
Visual inspections of your water heater catch warning signs before a full failure occurs.
Build a Simple Plumbing Reference Sheet
Write down the location of your main shut-off valve, each fixture's individual shut-off, and your local water utility's emergency number. Keep this information somewhere accessible-taped inside a utility closet or saved in your phone. In a sudden leak, having this ready saves critical minutes. First-time homeowners can find broader guidance in our first-time homeowner maintenance guide.
Keeping the System Healthy Over Time
Plumbing systems reward consistency. Running through these tasks once or twice a year-ideally in fall before cold weather arrives and again in spring-keeps small issues from compounding. Pair plumbing checks with other mechanical system reviews; our HVAC maintenance guide covers a similar approach for heating and cooling equipment.
When a task feels outside your comfort level, that instinct is worth respecting. A licensed plumber can handle more complex diagnostics efficiently, and calling one proactively is nearly always less costly than calling one in a crisis. For a balanced look at where DIY makes sense versus when to hire out, this guide to DIY home repairs offers a grounded perspective.
This article is for general informational and educational purposes only. Plumbing codes, permit requirements, and safety standards vary by location. Always verify local regulations and consult a licensed plumber for work that involves structural changes, main water or sewer connections, or any task you are not confident performing safely.

Author
Home & Real Estate Editorial Team
Home & Real Estate Editorial Team is the collective byline for our editorial team and contributor network. Articles published under this byline or an editorial pen name are researched, written, and reviewed according to our editorial standards for clarity, consistency, and independence before publication.
View all articles →